

This beauty took a bit of time to make but you know how I love a fun project! Also, it turns out they are a small fortune to purchase, and forget budgeting wheels into the mix if you want some extra funds for paint! So I went about making one for a friend and it didn't turn out all that bad so I thought I would share the how-to of the whole project.

Getting Started: I began by asking myself what size I wanted: The biggest they sell! (Which happens to be around 60" in width and about 56" in length. We're talking really big!). This meant for the design of one large inside pocket with a smaller front pocket, I needed 2 large outer fabric panels that were that size (60" w x 56" l), I also needed the same in lining fabric panels, I needed 2 strips of fabric with the zipper in between that went all the way around the sides-approx. 172" in length, and I needed a front outer fabric for the front pocket that was 60" width and about 30" length.
I also needed a strip of velcro (60" length) and a top flap for the pocket for closure that measured 8" in length and 60" width. I picked up polyvinyl type material handles, a set of two wheels (you might need screws + a screw driver to put the wheels into the slim bottom frame), and I also picked up a heavy duty bag strap up. I found it at a thrift shop for around $3 but you might find one you can snag from an old bag around your house. I also needed a leather/ heavy duty fabric glue, a heavy duty opening zipper that was about 172" in length, slim strips of wood/ or strip of plastic for stability-go with a piece that is slightly smaller in length than the length you selected for the bag itself (i.e. if your bag width is 60", assume you will lose about 4"- 6" around the corners and seam allowance, in which case you will want a length of about 52" x 1/3" in depth x 3/4" width. I went with about 2.5-3" shy of the width of the sewn bag. I also needed thread, my sewing machine and scissors.

Design: Decide what features you want and really plan out the materials list before you go shopping. Use a heavy sewing needle in your machine and any areas that are too thick for your machine to handle, don't sew because you do not want to ruin your machine. If needed, you can seal the seams with leather/ shoe glue. It takes a while to dry though so be sure to ensure proper circulation and follow the instructions for safety. When sewing heavier materials I slip on a pair of eye safety goggles as well (please remember we are working with machinery that is not always predictable).


How-To: Once you have gathered all of your materials you will want to lay your front outer panel down and then cut out the panel for the front pocket. Make the pocket and top velcro flap first. You will want to determine where the top of your front pocket will rest, sew velcro to the underside of the upper seam. Align the pocket to the base front panel, sew velcro to the top of the underside of the pocket + the other side of the velcro to the base of the front panel. About 1" above the velcro strip you will want to sew the edges to the top flap and then sew the flap horizontally to the underside of the flap. In order to get the flap to stay down a bit I sewed the ends down. Put this pocket front panel piece aside and take your two long strips of outer fabric that will go all the way around the edges and hold the zipper in between them. The length for these strips will be the length all the way around three sides of the overall pouch + another 12" in length.

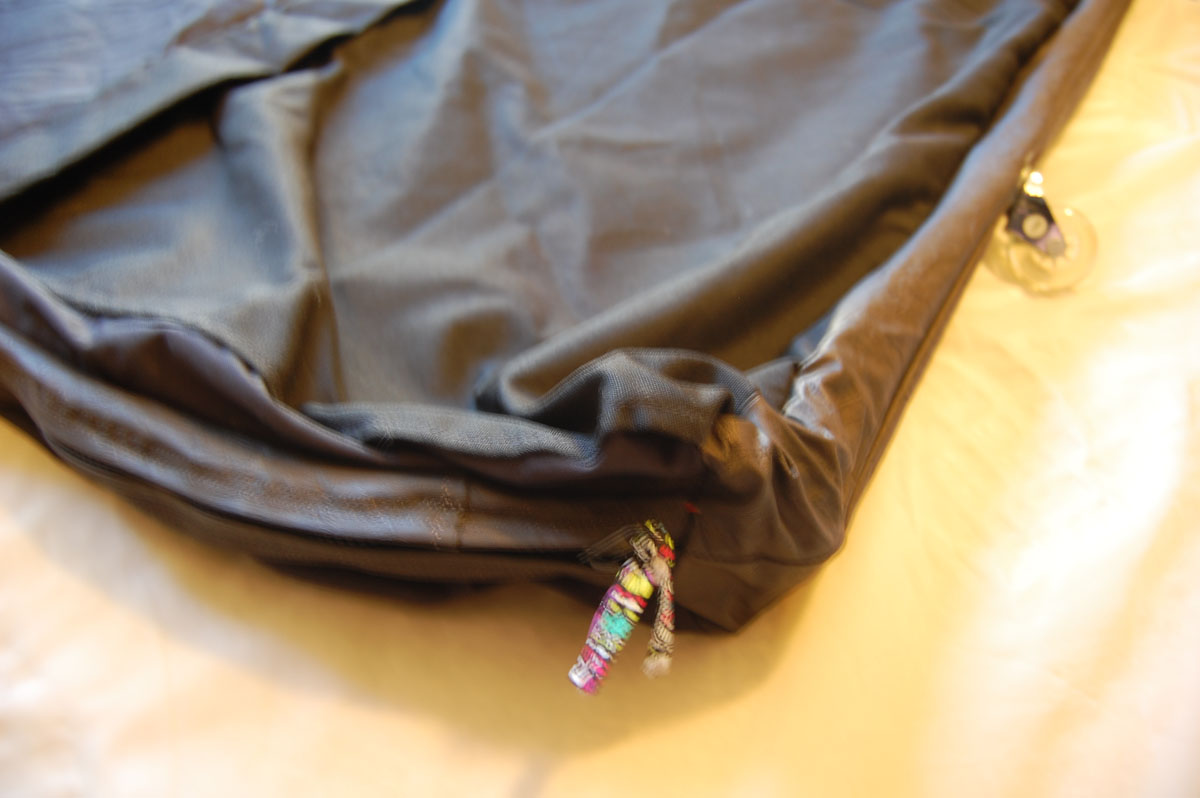
The width of the side strips will be determined by the gusset (bottom thickness) of the bag that you would like. For the one I made, I assumed about 5" in depth would be needed for the art pieces I expected needed to be placed inside, with the seam allowances for this I went big and went with about a 5.5" width for the strips. I sewed the zipper to one strip, aligned the zipper pieces and then sewed the other side (*I made this"align the zipper pieces" part sound really easy and it should be. Just work at it a bit if it is giving you a hard time and you will find the zipper groove you are looking for and it should slip into track for you-keep your zen! ;). Then I added the lining, this is by the way entirely optional, I had some rough edges so I wanted it to look nice(r) on the inside.


If you decide to skip the plastic/ wood support for the bottom and wheels, I would recommend going with a thick foam type material so you have a buffer between the ground and your beautiful art work inside. You can also purchase rubber feet/ sliders for the bottom of furniture at the hardware stores.


Lindsay ;)
No comments:
Post a Comment