


I have made so many pet beds at this point that I can lead you through the process in no time so that whether you are looking for one that is big or small, zippered, stuffed, square, round, you name it, you will find some helpful advice on how to make your own within a reasonable budget. And who doesn’t love that? Having a comfy zone for your little angel/s to rest also helps in that the quiet time leaves you some extra time to craft ;)

Now I realize that the title is a broad one in the
sense that the style of the pet bed you want can be quite different that the
next person visiting this page but I will break it down a bit to keep it
simple. Here are the general styles for pet beds. Most of what you find on the
market falls into one of these three categories.
Style 1-Outer shell stuffed in batting or poly fill with
side walls and then a separate bed insert added. This style can have a zippered
outer cover for the bed pillow or not. This style can be either square or
round.

Style 2-Big flat pillow style. This type of bed can
be small and stuffed with a poly fill, a lightly padded pillow insert, or for
the larger beds I recommend a bed or comforter insert and I will explain what I
mean by that below. This style can also be either square or round, though for
the larger beds you may find square or even rectangular to be easiest.


Style 3-This is the bed style that is a bit more
stylized in that a pattern such as this one will be more like a deluxe style.
NuFoam is a foam insert and you can usually find it at Joann’s. It is
recommended for the insert and the supplies for this style may be higher than
my claim for a well priced pet bed, but if you go craft hunting on a budget and
visualize getting fabulous deals then you should find the supplies for this
type of bed just may fall under the $30-$40 mark.
Over the years we have purchased many
pet beds from various sources for our boys and many of these are still in use
today. I think our dogs have a bed in just about every room of the house
practically but this last holiday I really wanted to give a friend with a HUGE
dog a really nice, big, fluffy, 100% washable dog bed. So I started out by
hitting up a few shops such as tj maxx, home goods, pet stores and the really
good ones (you know the kind where they’re soft and have a really nice insert
with a removable zippered cover) were upwards of $100! And as I am sure they
are lovely and worth that much, my crafty self cannot do it. Or better yet, I won’t do it.

So I set about putting together a pet bed on my own.
I had a few things I was going to insist on though. First, it had to be comfy
and warm. I don’t like cheap fabric and I like for the outer shell of the
pillow to be removable with a zipper. In my opinion pet beds need to either
have a washable shell or be small enough to be tossed in the wash as is. I
happened to have a long zipper in stock but you can expect to pay about $4 for a
long zipper, perhaps a little more. When it comes to last minute holiday gifts, I am just as willing as
anyone else to keep it simple and if picking up a big pet blanket at a store
for $10 means most of the outer pet bed shell is already sewn (seeing as I was
thinking I would just open an end and add a zipper and then add the insert
inside) and the blanket was going to cost less than the fabric I picked out at
the store, then I was definitely going to go with the pet blanket idea.
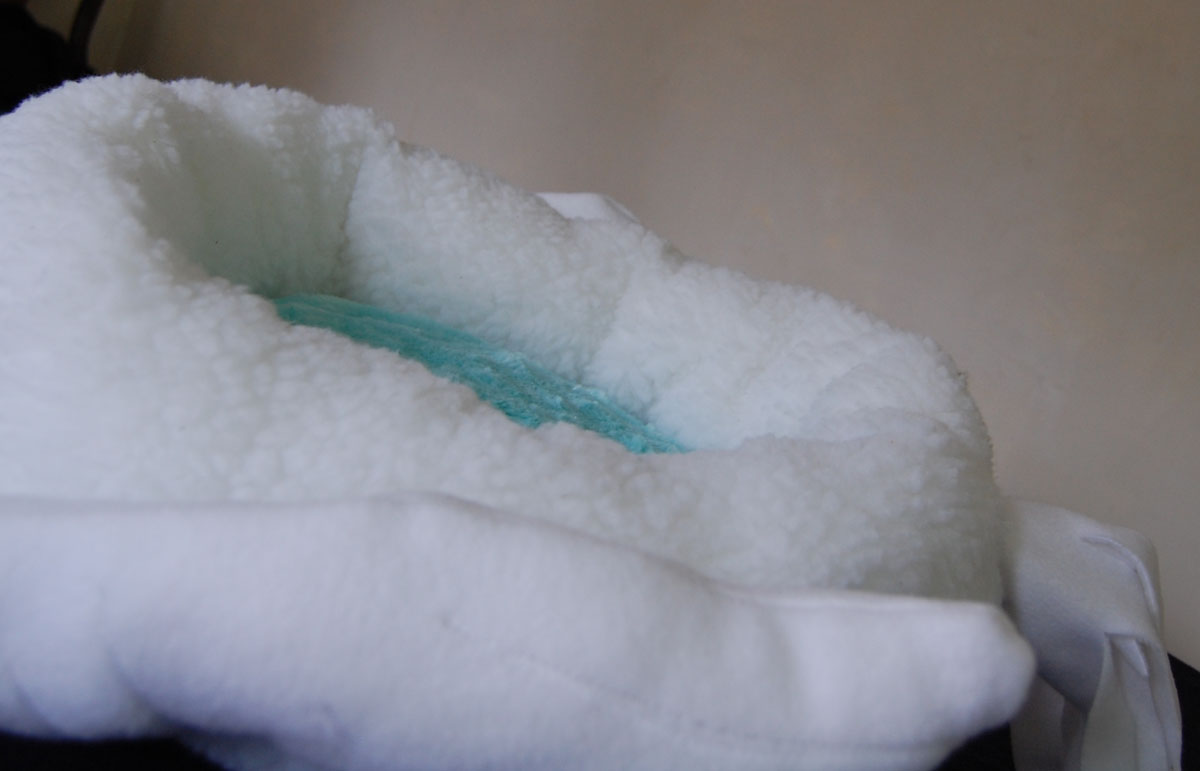
I ended up picking up the softest dog blanket at a home goods store. $10. As I was about to head for the checkout I happened to stop over at the bedding section and there was the most fabulous full sized down mattress cover for $15. It was perfect. It was going to fit inside the blanket well. The full sized Nautica mattress pad was about 4” thick, a really nice quality piece, and with some fabric in the shop I covered the mattress cover in a basic fabric. I opened an end of the blanket and turned it inside out and added the zipper, flipped it right side out again and slipped the insert inside. Finished! Months later it was happily reported that the dog still loves it.
I ended up picking up the softest dog blanket at a home goods store. $10. As I was about to head for the checkout I happened to stop over at the bedding section and there was the most fabulous full sized down mattress cover for $15. It was perfect. It was going to fit inside the blanket well. The full sized Nautica mattress pad was about 4” thick, a really nice quality piece, and with some fabric in the shop I covered the mattress cover in a basic fabric. I opened an end of the blanket and turned it inside out and added the zipper, flipped it right side out again and slipped the insert inside. Finished! Months later it was happily reported that the dog still loves it.

Here is a photo of Gizmo R. napping on a bed I made him. This one has been in use for some time but is still a favorite. With this one I went with style 2 in the square shape and double sided so you can flip both the outside shell and the bottom pillow from that fuzzy grey fabric to a cool cotton in the warmer months.
If you have the fabric or would rather not use a
pre-made blanket for the outer shell of your pet bed then you are going to want
a top sheet of fabric and a bottom sheet that is slightly larger in length and
width than the bed insert you intend to use. If you are planning on stuffing your
own bed insert then you are also going to want a top and bottom fabric sheet to
cover the bed insert inside as well. In the project above I covered the bed
mattress insert in a basic fabric before I slipped it inside the outside casing. Durability and safety for the pets is what I think of most when
making a pet bed for a fuzzy one because pets are amazing at destroying things
they love, and hate, and anything in between that pleases them. Am I right?
I know I am.
Mine have the sharpest little teeth and can tear holes through fabric even
when everything is sewn a few times so when you go to sew these up definitely
plan on sewing them multiple times. You should sew each seam at least three times
to be safe and if you have pets that tear up everything in sight then covering
all areas with a thick duck cotton type fabric will be a decent fabric in which
to use. A canvas also works as it too has a tight, durable weave. That is why a
lot of pet toy companies make their items with a duck fabric because it can
withstand constant dog chewing for a decent amount of time. People always want
soft fabric toys, my boys included, however those fabrics with the softer
materials usually have a looser weave or possibly the difference of a knit as
opposed to a weave and dogs can tear holes into
everything …(looks at Obi-Wan)..well, sooner than you would think.

The difference between style 2 described above and
style 1 is the difference of a base for the pet bed which then holds the top
pillow in place. I just made a few recently so here are some photos for you.
One is for my mom’s big cat and then two others are for the boy’s sister’s. For
these I laid out a long rectangular piece that is long enough in width to be
wrapped into a circle, stuffed and then sewn down to an oval base panel for the
bottom. For the length you want to keep in mind that you will be folding this
piece over to form the walls of the pet bed and it will be stuffed so in the
end go with a slightly longer piece and you can trim it down if needed. Sewing
pet beds can be tough on a sewing machine so I recommend sewing together raw
edges as opposed to turning seams inward and then sewing a seam as the fabric
may be too thick at the seams to get through on a regular sewing machine.
Fold
over the piece that is going to be your outer shell and fold it over and sew
the ends together, then turn right side out and sew around the bottom all the
way except about 3-4” in order to insert the stuffing. Stuff it as desired and
then sew up the small opening. Place the stuffed outer shell over the bottom
oval pattern and pin and sew the base to the walls all the way around, trim and
turn right side out. Your bottom shell is finished. Next just make the pillow
insert by taking a top and bottom piece of fabric and placing the pieces right
side in and sew all the way around leaving a few inches in which to turn the pillow
casing right side out, stuff, sew up the seam opening and then place it in the
inside pet shell and you have yourself a pet bed! If you want a square pet bed
then instead of one big piece for the outer shell side piece that you fold
over, sew and stuff you are instead going to go with either 4 pieces that you
will sew together at the seams, stuff and then sew together at the bottom seams
or if you are having the inside of the pet bed and the outside different
fabrics, you will go with 8 pieces, sew the inside and outside panels together,
then follow through with the rest of the sewing as described above.

The third style is really nice as well and I do not
have pictures yet of this style I will have some to come but you will see how
with the pattern, materials and some extra crafting time at your disposal you
can make yourself a fun bed for your pets. Essentially this style is the
creation of the side panels made from a quilted type material that is a bit
heavier and will hold up those walls structurally.


Each piece has a foam
insert and when you sew the inside and outer casing together and add the foam
pieces you have a comfy den for your pet. When making this last pet bed I am
planning on altering the pattern slightly so I can easily remove the nufoam
inserts via zippered areas and wash the outer shells because I have a feeling
these will be nice inside or out, in the car while traveling, etc. and the more
we are able to wash these pet beds the longer they will last. Well, until the
fuzzy munchkins decide to destroy them beyond repair. This is pet speak for “I
want something new now please”:p It is also been translated to mean “I want you
to play with me right now.” And on that note I’m off to give my little guys some attention…


The photos above are of my Pegasus Pet Beds.
Once I made the outer shell I made a padded insert for the base, 2 stuffed wings and a tail.

Happy Crafting + Happy Play Time with your cute
animals
Lindsay
No comments:
Post a Comment