Sometimes a girl just needs to craft herself up a
giant Dragon Egg Purse to go with her Khaleesi Gown right? I thought so too so
I did just that. This lovely Dragon Egg Purse is the perfect accessory for your
Game of Thrones inspired Khaleesi Gown and you will find that it is also large
enough to hold your gown inside when not in use.


It may also be perfect for
storing a small dragon inside when you need your hands free during your
(convention) travels. This item is made with a paper maché and suede cloth
fabric shell, has a hinge in back and a lock in front for closure and a nice
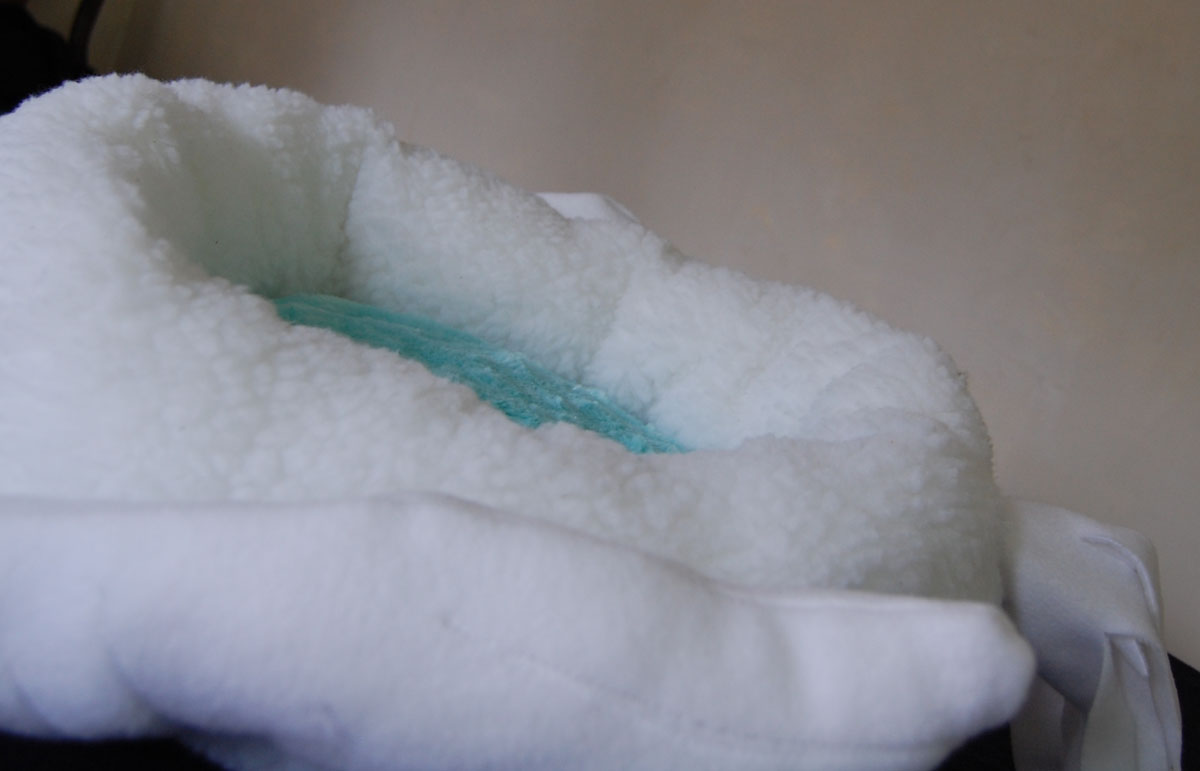
long strap for carrying purposes. The inside of the purse also features a rich
navy velvet fabric as lining.
The perfect accessory for a Khaleesi…

It turns out it is rather difficult to take decent photos of a giant Dragon Egg. (Please don't mind the glass bowl).

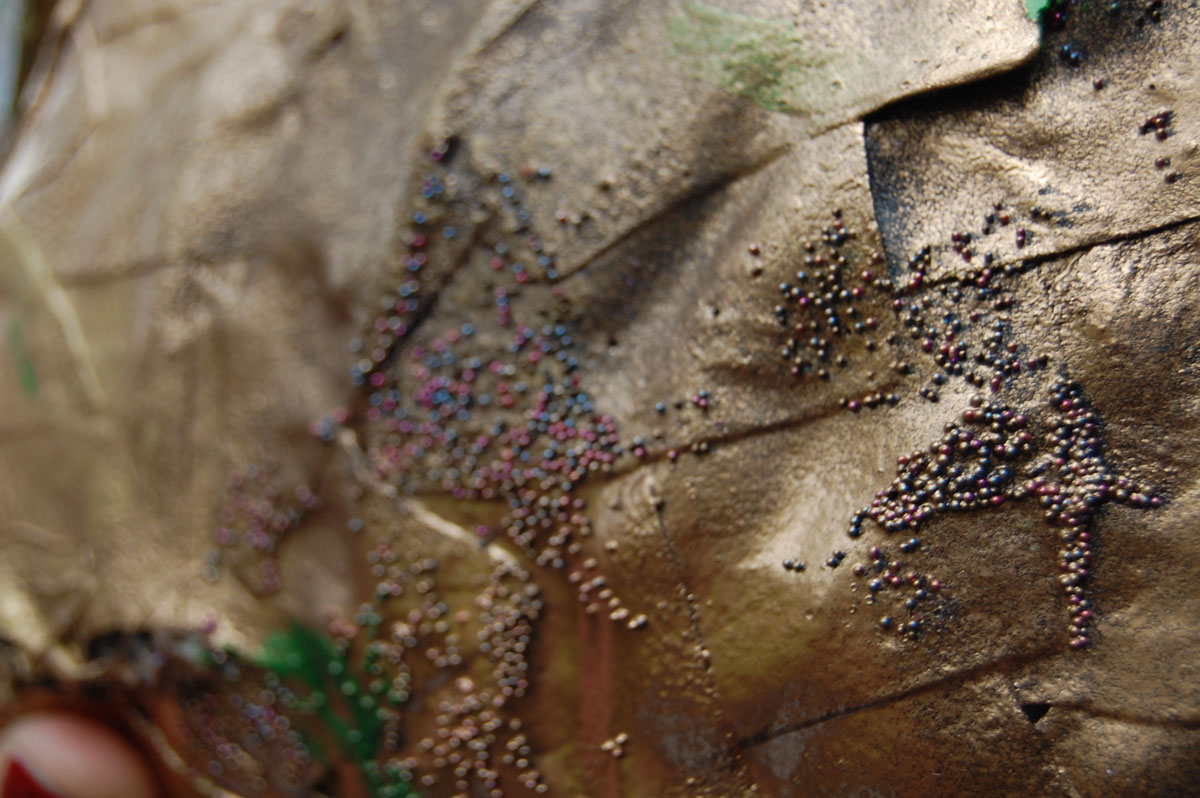
Here are a few close ups of the outside treated with those tiny little beads


When I started this project I wanted it to be
something I knew none of you would have already, Something you would find useful and of
course an item that would match the Khaleesi gown. While working on this project I realized
the nicest way to thank all of you for your orders would be to raffle one of
these off. I would love to make and send each of you one for free however if
you knew how very long this took for me to make you would see the impossibility
of such a feat. However, since this turned out pretty well I have entered all of my
recent Khaleesi customers into the raffle and will be hosting the drawing next
Sunday. I cannot thank you enough, not only for your orders, but also for your
patience and friendly messages. Seriously, I have the nicest customers!

Here is a close up with the Dragon Egg in the harness I made. This way you can carry it like a purse.

But you can remove the harness and just have an egg if you want. The harness has been made from extra Khaleesi gown scraps.

I will sent some helpful tips on how to get your egg in and out of the harness. It's pretty easy.
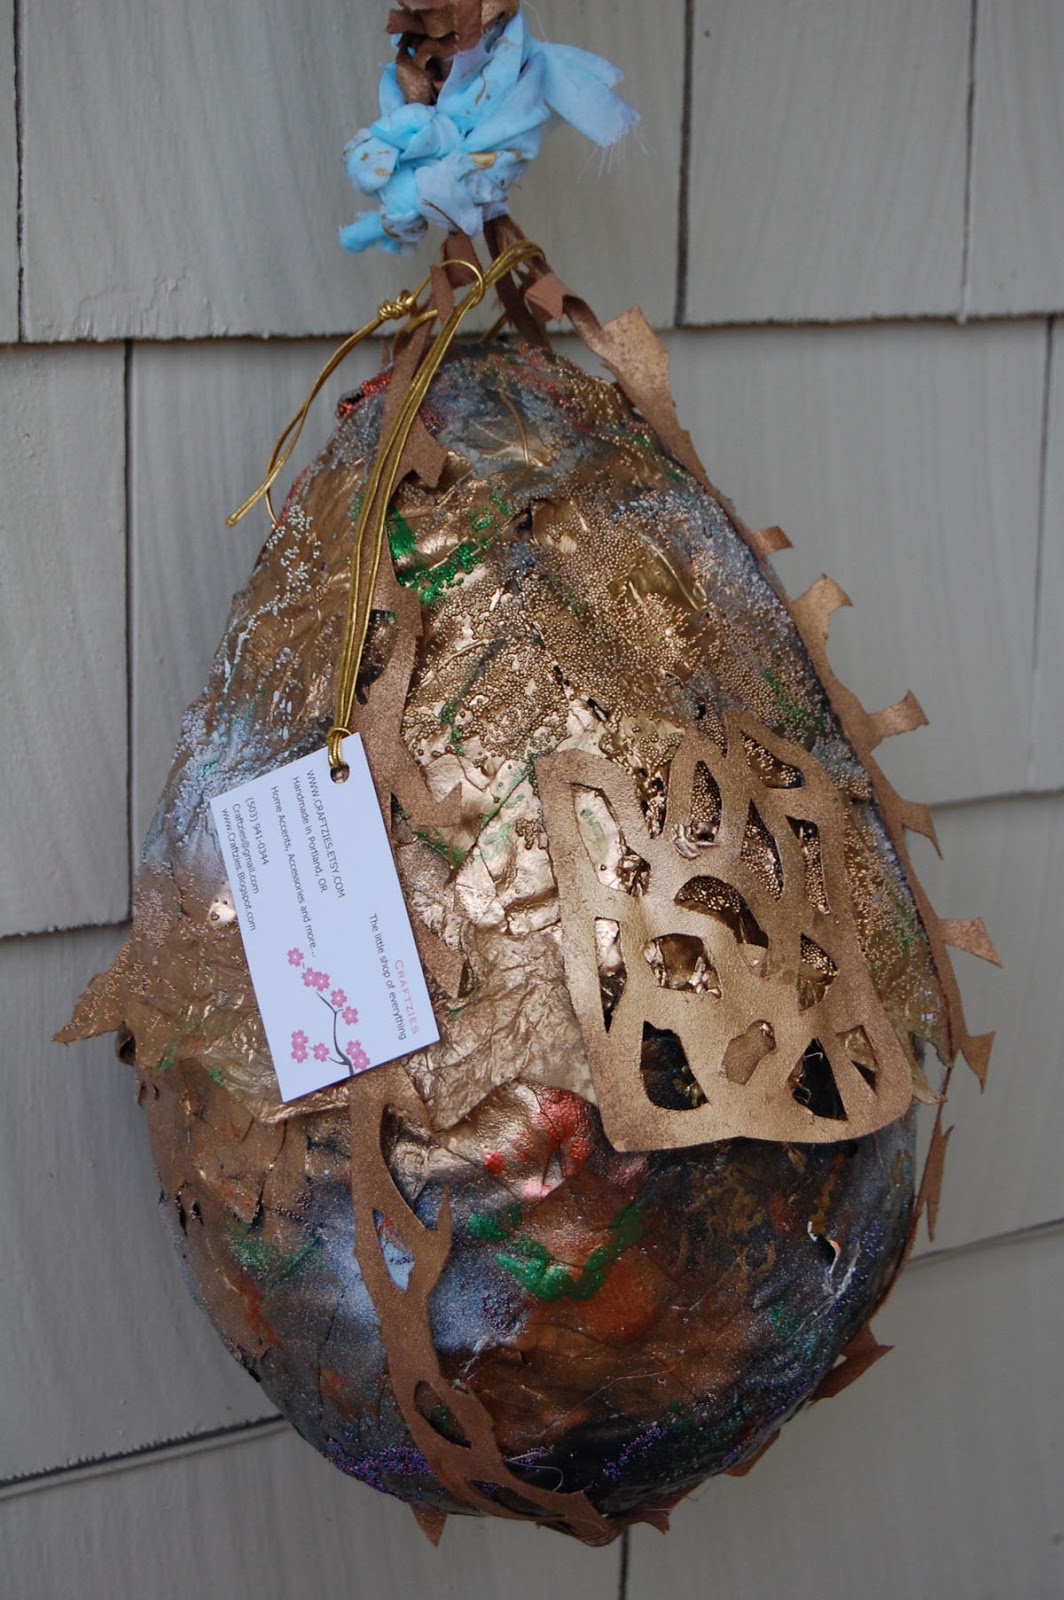
The gold cut out piece you see in front here covers up the clasp. The clasp was a bit tricky to get closed if your top and bottom egg pieces are not aligned but I fixed it a bit so I think you will find it works pretty well for a giant dragon egg.

RAFFLE Info here -> And so, in honor of your lovely selves being ever so
sweet, here is my THIRD raffle. The NEXT raffle will begin with Khaleesi Brittany R (or/ap25)
The names included in the raffle are:
The names included in the raffle are:
Khaleesi Deborah
Khaleesi Zoe
Khaleesi Tara
Khaleesi Antara
Khaleesi Anne
Khaleesi Erin
Khaleesi Christina
Khaleesi Tanya
Khaleesi Kimberly
Khaleesi Kathy
Khaleesi Ginger
Khaleesi Daliah
Khaleesi Samantha
Khaleesi Laeleigh
Khaleesi Erica
Khaleesi Alicia
Khaleesi Samantha P.
Khaleesi Natalie
Khaleesi Devin
Khaleesi Celeste
Khaleesi Laura
Khaleesi Siobhan
Khaleesi Courtney
Khaleesi Vicky
Khaleesi Courtney
Khaleesi Elmien
....and the winner of the new Dragon Egg is Courtney, and the second runner up is Ginger-Ginger receives a pair of khaleesi styled earrings. I am messaging the winners today ;) Congrats!
....and the winner of the new Dragon Egg is Courtney, and the second runner up is Ginger-Ginger receives a pair of khaleesi styled earrings. I am messaging the winners today ;) Congrats!
Here is a link to the dress on etsy -> https://www.etsy.com/listing/198855222/game-of-thrones-themed-princess-daenerys?ref=related-1
I also listed new photos of the Khaleesi gown and
you can see details here -> http://craftzies.blogspot.com/2012/10/game-of-thrones-costume-remake-making.html
Lindsay
P.S.
And then for those of you wondering how I crafted myself up such a dragon egg
here is how I did it…
Crafting Yourself a Dragon Egg Purse

For starters I needed a giant egg and I found one at
a thrift shop of all places for something like $3 but you may have success at Michael’s Craft store,
they had them on sale during Easter.

I then hunted in my craft shop for
handmade paper and I found some that I picked up from Pearl Paint years ago.
You will find they are located in NY, a fabulous art supply shop for those
local to the area and here is their website if you need it:

You can probably use a range of different papers
however I like the handmade paper because it has strands in it and when used as
a paper maché, makes an excellent light weight binding material. Now, I don’t
share this with many people but I am (hangs head) a paper maché expert. It’s
not anything one strives for quite honestly, but my obsession with the
flexibility, durability and weight factors in regards to paper maché products
(a fancy name is Nomadic furniture) has been ongoing for years. I have paper
machéd a 4 ft high elephant in the kitchen of a rather small apartment (my
boyfriend is seriously a saint!), I have made 50+ paper maché picture frames
(insanely made in an even smaller apartment), I have made step stools, a bed,
and the list goes on. So when it came to making a dragon egg shell, well, it
wasn’t too out of reach on the crafting scale if you know what I mean. Never
the less this baby took weeks to dry primarily because of the shape. I used
about three large pieces of handmade paper and a medium bottle of Elmer’s glue. In the end I also used an entire large bottle of modge podge. Lots of brushes, definitely gloves, beads, suede cloth triangles, hardware to hold the pieces together, lots of glue sticks and a glue gun, glitter, spray paints and then a finishing spray, and I also used a bit of medium gloss as well.

First start out by covering your egg loosely with a big sheet of thin handmade
paper. The color does not matter, but the materials used in the paper do so go
with paper that has a lot of strands and natural, slightly uneven material
throughout. When you go look at handmade paper you will see what I mean. *I did
not do this with the first egg but will if I decide to make more and I suggest
you do this as well. Before you add the initial piece of handmade paper to the
egg take a strip of cardboard that is about 1” in width and the length of the
diameter of the center of your egg. Roll the cardboard strip a bit to give it a
little curve and then open it and tape it around the center of your egg. If you
need to ever so lightly tape the cardboard to the egg itself, make sure the
seam lies flush when it meets the other side. When you go to cut the egg off
the shell you will find having the cardboard piece at the center seam will help
buffer the plastic egg underneath a bit when you go to split the top and
bottom. It will also provide a bit more structure to the inside of the egg when
you go to hot glue gun the seams once your paper maché egg is taken off the
shell.

Then loosly cover the egg in a sheet of paper and
tape together at the seam with just a tiny bit of tape. It won’t be perfect,
but don’t worry. Sort of scrunch down the paper a bit, once you start adding
the smaller gluey pieces of paper maché those areas will mush down into an egg
shape. That is why I recommended a thin handmade paper though as it will
conform well. You may have some success with a tissue paper but keep in mind
tissue paper should not be wet very much or it turns to mush. You can use a few
sheets as an inner layer though if you would rather not use a whole sheet of
handmade paper, just don’t soak it too much.
Gloves on. Next soak the torn pieces of paper in a
mixture of glue and a tad of water. Layer, dry, rotate and add more paper
material. Cover the entire egg, allowing it to dry as needed as you go. Don’t
be lazy and cut the paper into pieces. Instead tear the pieces as those torn
edges provide a nice binding as you work your way around the egg. You are going to have to work in sections but
just keep at it and in a few days you will find you have yourself a giant egg
completely covered in paper maché. Woo-hoo! We're making progress.
Next cut up a TON of tiny triangles from a suede
cloth material. Put your crafting gloves on and beginning at the more narrow
end positioned pointing up, brush some modge podge glue over the paper maché
(and I know you have let your egg dry out completely at this point ;) and cover
the egg with your triangle suede cloth pieces, pointy ends pointing upward. You
will find it best to work your way around the egg as you go down. This will
take some time. You have to cover about 2/3 of the egg with the fabric
triangles and let it dry out completely and then flip the egg around bottom up
and add the triangles to the rest, making sure you point your triangles
downward when working from the bottom up so the triangles are all going the
same direction in the end. Once you have added the fabric triangles you may
find it best to cover your entire egg with modge podge. Honestly this thing
can’t get enough glue. Once this outer shell is finished you are going to cut a
seam all the way around the middle of the egg so you have a top and bottom.
Getting this off the egg may be rather difficult because the glue mixture may
have seeped through but you can take a butter knife and working your way inward
of the seam on each side, slowly work the shell off the egg frame. If slowly
and gently doesn’t work, then give it more umph! (yes that is a word!) and make
that egg split in two and off your egg shell. I was nice a gentle and then really
had to work the pieces off with a butter knife but keep at it, you’ll get it.

If you need to go ahead and cut yourself a few inches inward in a zigzag
pattern to help get the pieces off the shell go for it. Once finished you have
a top and bottom and you will see how light weight they are. Not too bad. Then
reinforce inside and out with a hot glue gun around the edges. Repair any rips or tears in your egg pieces with glue gun glue. A note on glue guns-I like
the mini’s but if you are heading to the store to purchase one, go with one
with a medium sized opening at the top. I just tossed one because the opening
was too small and it was making the glue come out too little at a time (well,
and because it burned the heck out my hand :/ ) but never the less if you are
going to pick a new one up go for one with a medium opening at the tip. The glue will mold like plastic in the end
and fill in any areas that need a bit more structure so if you find you have an
area where your egg is dented in or anything, no worries, we’ll fix it with the
hot glue gun. You may want a wooden skewer or stick or something to sort of
prop up any areas where you do have a little dent and then add the glue to the
underside so the glue seeps in and fills in the empty space. Then add glue to
the seam on the top and bottom to give it a bit more structure. Trim any areas
with an exacto knife as needed and then once finished with the outside, take a
nice fabric and glue the fabric to the inside. I used a navy velvet fabric I
had on hand. I used a hinge and small lock for closure purposes and I nailed
them in and then glued them with super glue and then reinforced those areas
with the glue gun and modge podge. I picked up the smallest of hinges and I
think next time I will go with a bigger hinge because this egg is pretty big.
Since these were so small I added two in back next to each other. Make sure
when gluing the pieces on you do not glue the center hinge area or it won’t
open and close properly. A small piece of clear tape can help if needed.
I was not too thrilled with the hinge I used and I ended up covering it up with a piece of suede cloth on botht he inside and outside. I realized because of the rounded shape I probably could have gotten away with one slightly larger, but when I tried to add two about half an inch away from each other it did not open and close well so definitely take that into consideration if attempting to make your own.

Once I had the hinge and lock on and (gloves on)
glued and dried I then treated the outside of my egg to a ton of stuff. I
pulled a bunch of weird materials from my craft room for this one…I don’t even
know what these things are. They are like tiny tiny little beads that get glued to fabric? I’m sure they have a real name but for now I will just refer
to them as ‘random glittery bead things found in the craft shop; :p I must have
acquired them at some sale or other but they were all different colors and I
thought rolling my egg pieces in glue + magical bead mixture would look really
cool. Once I did this and it dried I gave the pieces a gold treatment and once
dried once more, added the velvet to the inside. I added a gold embellished
handle, some gold paint and then some gold trim to clean up the center seam on
each side of the opening.

Here is a photo of the dragon egg in it's almost finished stage with a dress fitted inside.

These photos turned out a bit dark but the inside lining is a dark navy blue for both the top and bottom.


Once the base shell is dry then it is treated to a gold treatment and some beads. At this point it was okay, but not fantastic. It really needed a dragon scale seam around the middle to finish it off.


Above is an image of the inside with the zig zag center seam pulled out just a tiny bit. Because it ended up offering a bit of a worn leathery feel with the layers of paint and extra beads added, you will have the opportunity when you carry this egg, to mold those center scales close in. I think some attention will smooth that area out a bit but I did it a little myself and it is not too bad. I have to say I am liking it a lot more than I did two days ago. If you decide to make your own my advice would be not to give up, just keep at it. It's a tough project and took so long to dry, so many layers added but you know, I feel like it definitely came together a bit more in the end.
And here is a photo of the Khaleesi dress that fits inside ;)


So, that is how I made that. I know a lot of people are using the polymer mixture for a plastic
coating for crafts these days and this is not a bad idea. I have not used such
a material before but the next time I make one I just might try it out and see how it works but for now, the paper maché version turned out pretty well.

Thanks so much for stopping by and I wish all of you
the happiest of crafting on this perfect Saturday. If you have any questions feel
free to ask!