What's Crafting?

What's Crafting?
Click here for this weeks updates...

Search This Blog

Thursday, September 10, 2015

A Labyrinth Inspired Creation: The Wicked White Cape with Fiber Optic Skeleton Claw

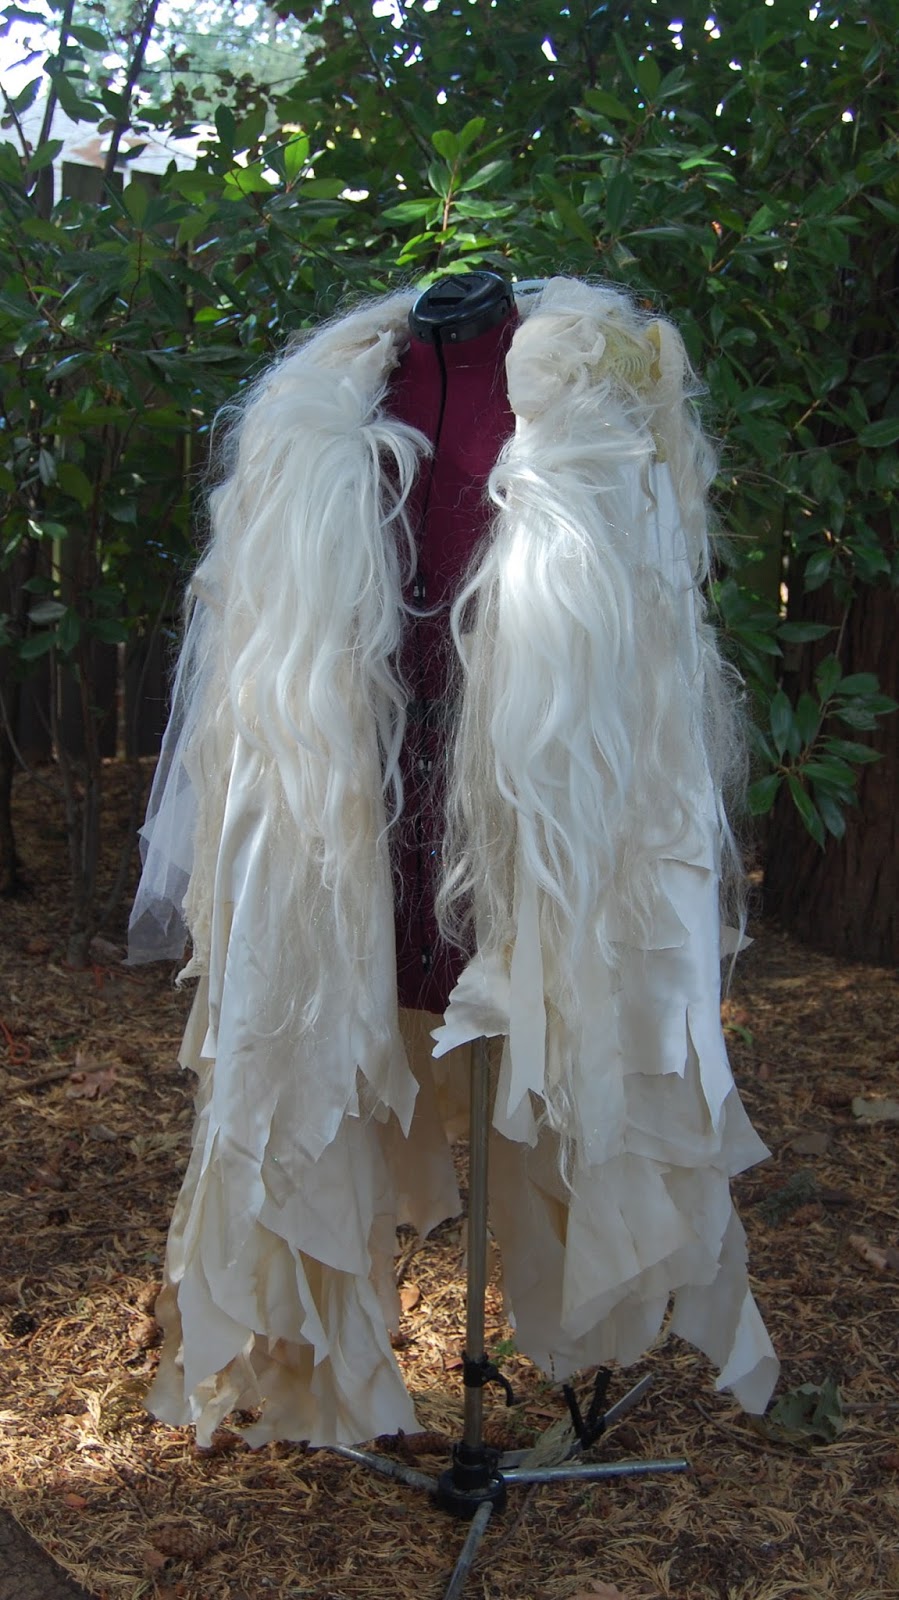
It's going to be a hauntingly fun Halloween... 


I have to admit this Wicked White Cape is one of my favorites this year and it has been made from multiple hair wigs, over 7 yards of fabrics, two plastic skeletons sewn in, and a built in crystal skeleton claw that comes up and out of the back of the neck. It even comes with an added multi-colored fiber optic battery pack at the center of the skeleton claw in back to make it even creepier and glow at night. The fiber optic lighting has a small battery pack that slips in through the lining in back and can be removed if desired.


A request came in through the channels for a costume similar in nature to the one worn by Jareth in the movie Labyrinth. What a cool costume idea right? How could I say no. One of the really fun things about this costume is that it can work for a number of different costume themes, and with or without the fiber optic claw in back or even in different colors. 


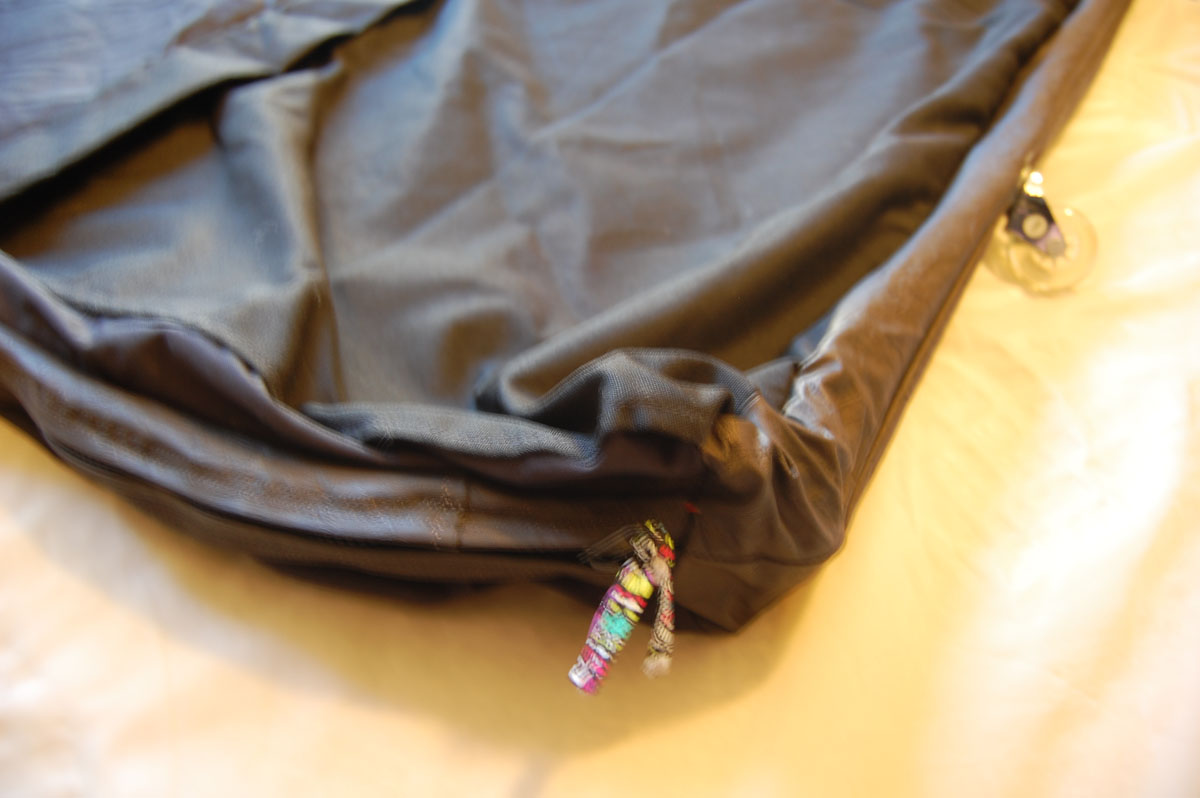
This cape is designed to rest on the shoulders without falling off (via built in foam shoulder pads and hidden elastic arm holsters) and will stay on when singing, dancing, looking into your crystal ball or even for creeping out the neighbors. Size Medium/ Large Unisex. This costume has built up padding in the back and shoulder pads built in so it rests over the shoulders and you slip the arm holsters around your arms to hold it on. If you are interested in a costume in a different size please message me and I will be happy to make one to your size. 


Here are a few photos, albeit a bit fuzzy, of the fiber optic lit and showing the bright neon pink. It also switches to blue, purple and green.

*Despite this being referred to as a white cape, please note that the colors vary slightly throughout from off white to ivory with a small bit of brown fabric dye added to give a more worn look, as well as a brown shimmer mesh in back tucked in to hide the fiber optic lighting. The outer fabric is an ivory satin and the hair strands are a blend of white and blonde mixed together. The fiber optic fluctuates various colors of blue, green, purple & hot pink. 


*The cape also comes with a set of skeleton elastic wristbands made of the same materials as the cape.


The fiber optic battery pack is removable if desired. Please note all computer monitors display light a little differently however the coloring is a blend of lighter colored materials treated with a variety of faux hair and fabric dyes.


*Materials used: 7+ yards of various fabrics, 2 plastic skeletons, 1 small fiber optic battery pack inside iridescent mesh skeleton claw in upper back, 2 wigs, foam, fabric dye, elastic, iridescent woven tubing, plastic strips, wire. 

Here is a photo of the fiber optic in blue in the dark. It's a lot brighter in person than the photos show.

Shipping is USPS Priority 2-3 day delivery in the US $14 or less. Shipping is $25 Internationally for USPS First Class. Please assume 14 days from time of shipment for your item to arrive when shipped Internationally. Items shipped within 24 hrs of payment received.


I have a few early bird costume specials that are popping up on ebay and etsy this week. This costume retails for $200+/ handmade by me/ dryclean only. Any questions feel free to ask.

If you would like one please message me on etsy @ www.Craftzies.etsy.com. If you are interested in purchasing a costume on ebay my username is nachomama7.

Lindsay :)

Crafting Up a Magic Carpet Nap Mat

These Magic Carpet Nap Mats are so soft and fluffy you're going to want to scoot your loved ones over a bit so you all have a spot to snuggle! It's tough to decide which is best, it's softness or it's napping magic. Either way I'm on cloud nine...

This project was made with a variety of fabrics for both the front and back panels, I added little corner tassles, and then I stuffed it with a polyfil, tacking it down like a quilt. The process is pretty simple. You will want to start out with a center rectangular panel of fabric and then cut strips of fabric that are about 20" length by about 22" wider on each end than the length and width of the center rectangle panel.


Materials: lots and lots of different fabrics, 4 tassles for the corners, 1-1.5 large bags of your favorite polyfil stuffing, scissors, sewing machine, thread, sewing needle.

One of the most helpful things you can do with all strips of fabric for this project is to fold the fabric in half one way, and then fold the piece in half the other way and score it so you can easily find the center mark of all sides of each strip. Planning for the side strips to be a little longer ensures you have enough fabric to match the corners up in the end and if you are using a mixture of different fabrics, it always helps to have a little extra pinch. Just make sure each strip is long enough before sewing to the center panel.


Once you have made a little cut or fabric pen mark to all corners of your center rectangular panel, take a shorter strip and align the center marks, pin and sew. *Make sure you stop sewing about 1" inward from all corners when sewing your fabric side strips to the center panel. The more you sew the side strips to the center panel, the heavier your front panel will become. It will help to have a table or sewing space to your left to hold up the panel as you sew, however you may also want sewing pins for this project to you keep it all organized as you work. Repeat this sewing technique with all three other sides, again leaving about 1" unsewn at the corners.


Your next set of side strips will be sewn in the very same way, only assuming that they will be be an additional length of 44" overall (22" on each end for the corner fold) than you had assumed for the prior set of side strips added. Mark the top and bottom of the strips of fabric to indicate the center for each, and then align, pin and sew those strips. Continue with this until you are finished (or out of fabric and or exhausted already). Once you are finished with your top panel you will add the little tassles to the corners, tassles pointing inward at the corners before sewing them down.

Once you have gotten this far you will either want to make another panel for the backside just like you did for the front, or just go with one large fabric panel, but make sure the backside is the same size as the front panel. Place the bottom panel fabric facing up on your sewing space, and then lay your top panel on top of the bottom with the top panel fabric facing down. Pin all the way around from the lower left area of the blanket about 3 ft or so in from the corner and then all the way around the blanket, leaving about 2 ft open around the bottom hem. Sew the pinned sides down and then turn right side out.


Now you are going to stuff the inside with the polyfil. Lay the entire piece out flat and take the bag of filling and add a little bit, tack the area down with your thread and sewing needle, and repeat throughout the blanket. You now have napping perfection ;)

Happy Crafting!
Lindsay


The Big Bad Art Bag

This beauty took a bit of time to make but you know how I love a fun project! Also, it turns out they are a small fortune to purchase, and forget budgeting wheels into the mix if you want some extra funds for paint! So I went about making one for a friend and it didn't turn out all that bad so I thought I would share the how-to of the whole project. 


Getting Started: I began by asking myself what size I wanted: The biggest they sell! (Which happens to be around 60" in width and about 56" in length. We're talking really big!). This meant for the design of one large inside pocket with a smaller front pocket, I needed 2 large outer fabric panels that were that size (60" w x 56" l), I also needed the same in lining fabric panels, I needed 2 strips of fabric with the zipper in between that went all the way around the sides-approx. 172" in length, and I needed a front outer fabric for the front pocket that was 60" width and about 30" length.

I also needed a strip of velcro (60" length) and a top flap for the pocket for closure that measured 8" in length and 60" width. I picked up polyvinyl type material handles, a set of two wheels (you might need screws  + a screw driver to put the wheels into the slim bottom frame), and I also picked up a heavy duty bag strap up. I found it at a thrift shop for around $3 but you might find one you can snag from an old bag around your house. I also needed a leather/ heavy duty fabric glue, a heavy duty opening zipper that was about 172" in length, slim strips of wood/ or strip of plastic for stability-go with a piece that is slightly smaller in length than the length you selected for the bag itself (i.e. if your bag width is 60", assume you will lose about 4"- 6" around the corners and seam allowance, in which case you will want a length of about 52" x 1/3" in depth x 3/4" width. I went with about 2.5-3" shy of the width of the sewn bag. I also needed thread, my sewing machine and scissors.


Design: Decide what features you want and really plan out the materials list before you go shopping. Use a heavy sewing needle in your machine and any areas that are too thick for your machine to handle, don't sew because you do not want to ruin your machine. If needed, you can seal the seams with leather/ shoe glue. It takes a while to dry though so be sure to ensure proper circulation and follow the instructions for safety. When sewing heavier materials I slip on a pair of eye safety goggles as well (please remember we are working with machinery that is not always predictable).


How-To: Once you have gathered all of your materials you will want to lay your front outer panel down and then cut out the panel for the front pocket. Make the pocket and top velcro flap first. You will want to determine where the top of your front pocket will rest, sew velcro to the underside of the upper seam. Align the pocket to the base front panel, sew velcro to the top of the underside of the pocket + the other side of the velcro to the base of the front panel. About 1" above the velcro strip you will want to sew the edges to the top flap and then sew the flap horizontally to the underside of the flap. In order to get the flap to stay down a bit I sewed the ends down. Put this pocket front panel piece aside and take your two long strips of outer fabric that will go all the way around the edges and hold the zipper in between them. The length for these strips will be the length all the way around three sides of the overall pouch + another 12" in length.


The width of the side strips will be determined by the gusset (bottom thickness) of the bag that you would like. For the one I made, I assumed about 5" in depth would be needed for the art pieces I expected needed to be placed inside, with the seam allowances for this I went big and went with about a 5.5" width for the strips. I sewed the zipper to one strip, aligned the zipper pieces and then sewed the other side (*I made this"align the zipper pieces" part sound really easy and it should be. Just work at it a bit if it is giving you a hard time and you will find the zipper groove you are looking for and it should slip into track for you-keep your zen! ;). Then I added the lining, this is by the way entirely optional, I had some rough edges so I wanted it to look nice(r) on the inside.


If you decide to skip the plastic/ wood support for the bottom and wheels, I would recommend going with a thick foam type material so you have a buffer between the ground and your beautiful art work inside. You can also purchase rubber feet/ sliders for the bottom of furniture at the hardware stores.


Happy Crafting!
Lindsay ;)